L-Edit Change Layer Rendering
L-Edit Change Layer Rendering
When designing layouts in L-Edit being able to change the appearance of different layers is very important. Sensible selection of layer rendering can make editing design files much easier. This post shows you how to change the rendering in different layers in L-edit.
Setup Layers
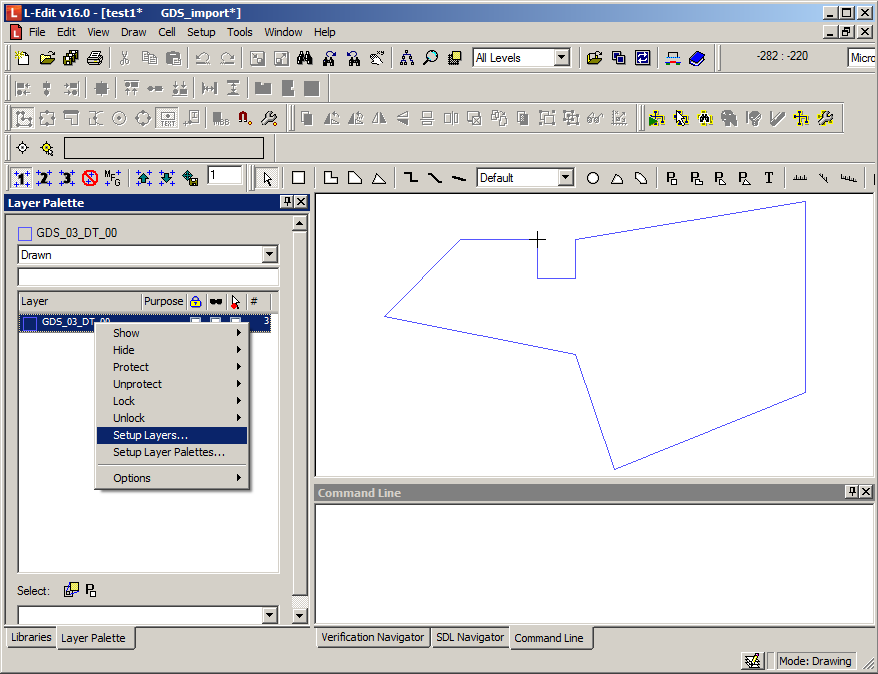
The settings for changing the appearance of different layers is in the ‘Setup Layers…’ dialogue. Access this by right clicking on the layer you want to change:
 |
|---|
| Setup layers |
Change The Rendering
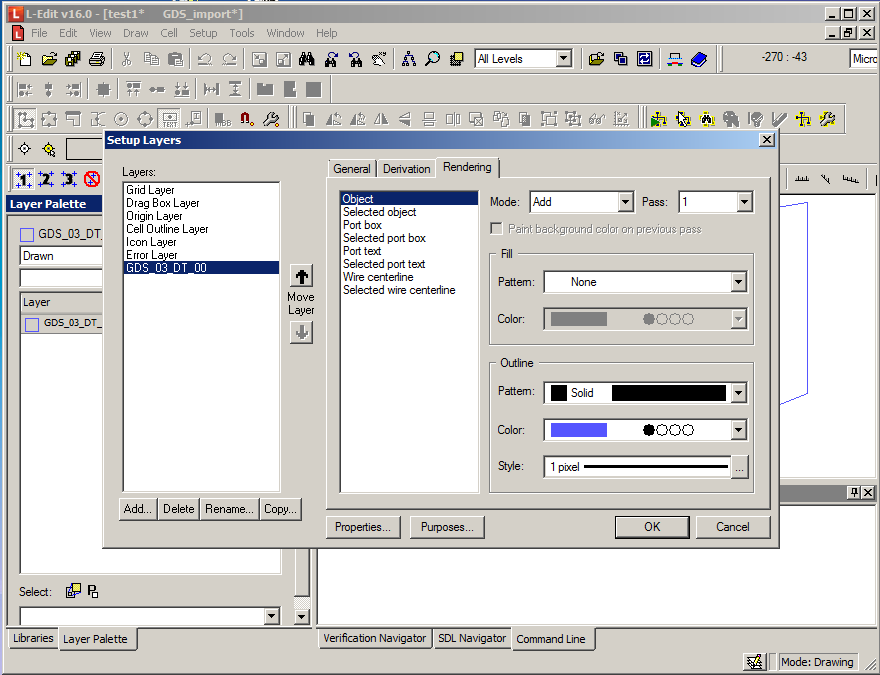
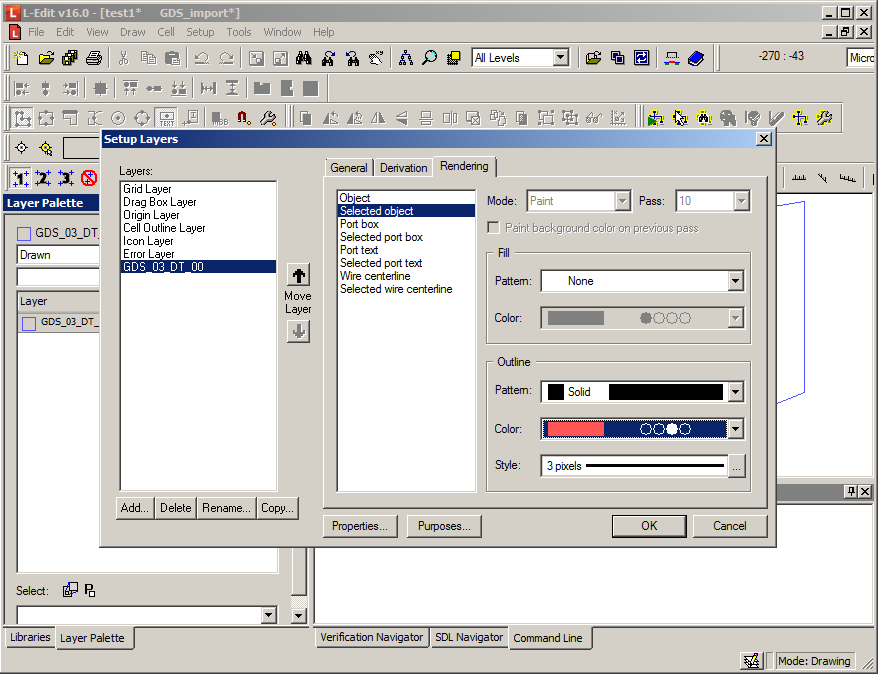
There are all sorts of properties that we can alter in the Setup Layers dialogue window, but for now we will just change the rendering:
 |
|---|
| Setup layers - rendering |
L-Edit allows us to set the rendering differently for selected and unselected objects on the layer. This can be useful if you are working with a complicated collection of different objects, where knowing which ones you have selected isn’t always obvious.
Set Rendering for Unselected Object
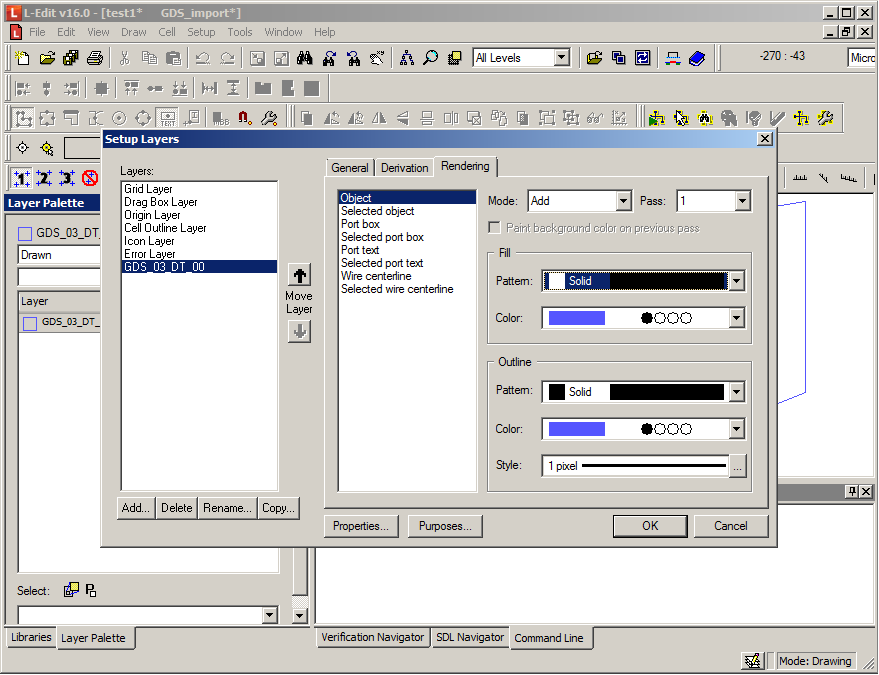
The most import rendering change is to the fill of objects. This tends to default to being empty, but I find it much clearer to add some kind of fill. Select the kind of fill you want in the object. I prefer to go for a solid colour, but sometimes a more sparse pattern makes sense too.
 |
|---|
| Setup layers - rendering - solid fill |
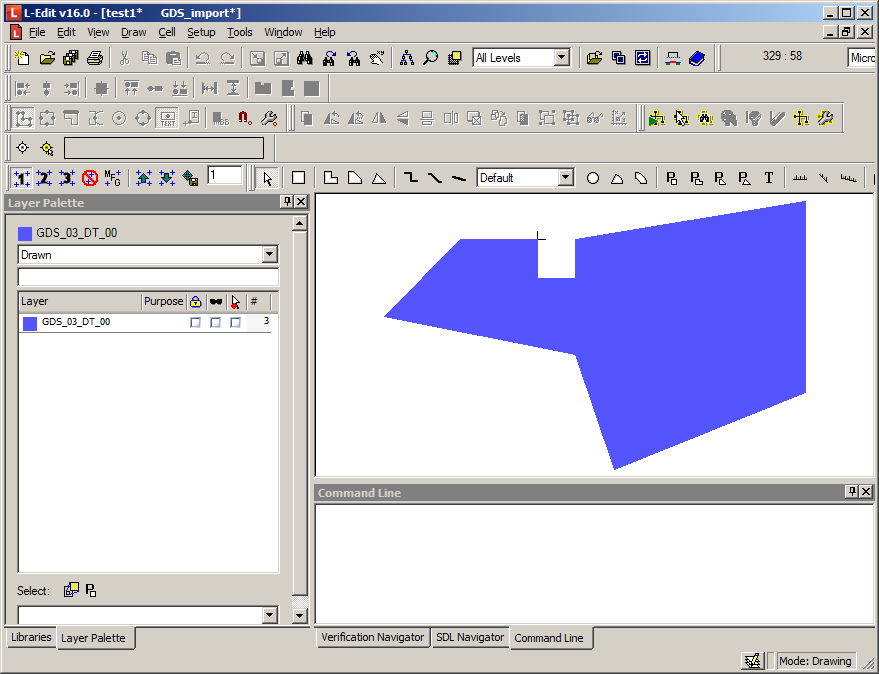
Selecting this solid fill will result in polygons that look like this:
 |
|---|
| L-Edit Change Layer Rendering - Unselected |
Set Rendering For Selected Objects
You could just leave your rendering with the unselected, standard ‘Object’ details filled in. For more complicated projects and designs though, I like to also set the selected object rendering. By setting the outline of the object to be highlighted differently to an unselected one, it is much easier to see what you are doing when selecting and unselecting objects.
 |
|---|
| L-Edit Change Layer Rendering - Selected Object Dialogue |
Once you’ve made those changes to the selected object rendering, your polygons should look something like this:
 |
|---|
| L-Edit Change Layer Rendering - Unselected Object |