Inkscape Grid Layout
Grid layouts are an important technique in graphic design. This blog post shows how you can make an Inkscape grid layout using another open source publishing tool Scribus.
Inkscape Grid Layout
Scribus is an open source desktop publishing application and comes with a nice tool for breaking a page up into grids. This is much easier than manually attempting to calculate and draw a grid in Inkscape.
Creating The Grid
New document - set page size to same as what you will be using in Inkscape, or at least same proportions.
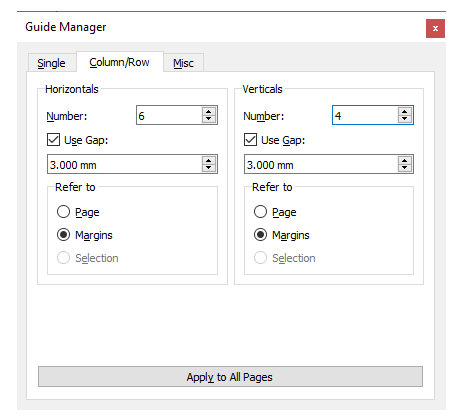
Page -> Manage Guides -> Column/Row
You can use whichever settings you want here. I chose 6 rows and 4 columns, measured from the margins rather than the page itself and included both a horizontal and vertical gap.
 |
|---|
| Scribus Guide Manager |
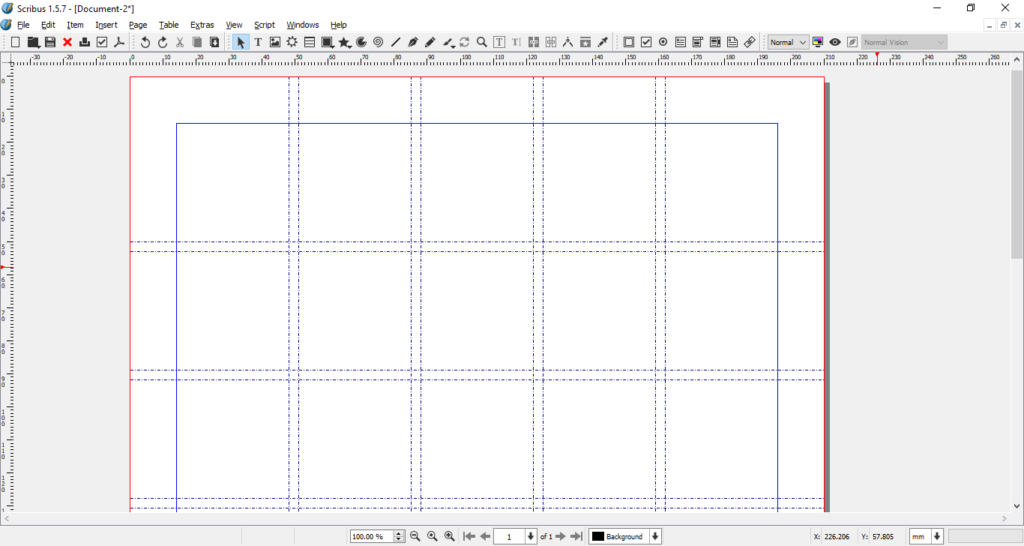
The grid guides will be visible on the Scribus page, but as yet there is no way to export them to Inkscape.
 |
|---|
| Scribus Grid Guides |
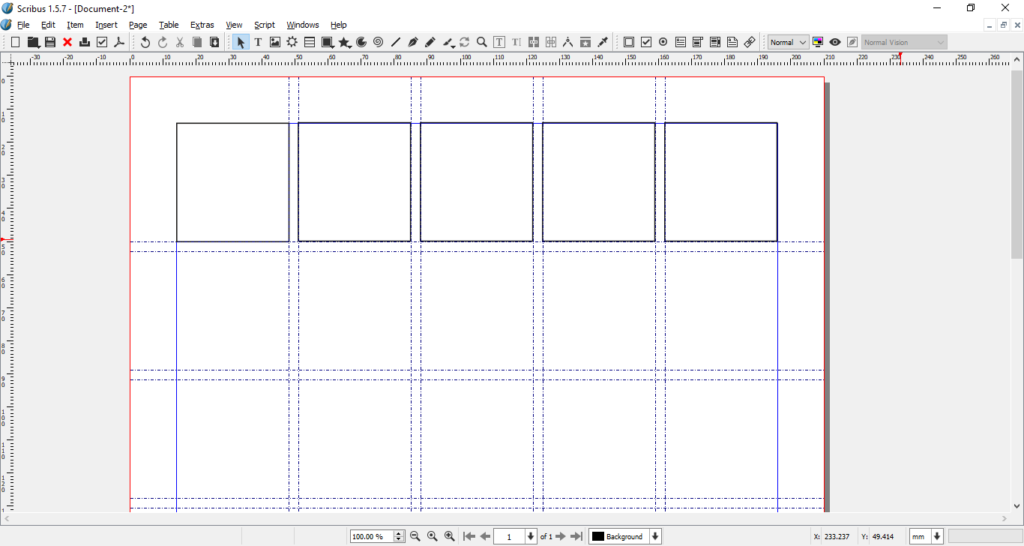
To make the guides exportable we are going to draw shapes over the grid. First we want to make sure we’ll exactly match the grid by turning on ‘Snap to Guides’ (don’t turn on ‘Snap to Grid’).
Page -> Snap to Guides
And then select the square shape:
Insert -> Shape -> Default Shapes -> <square>
Draw a square in one of the grid boxes. With ‘Snap to Guides’ activated it should easily snap to the guides we created. If it snaps to a different point, you may have ‘Snap to Grid’ also selected.
 |
|---|
| Scribus grid - single square |
Copy and paste that square to the other grid-squares on that row.
 |
|---|
| Scribus grid row |
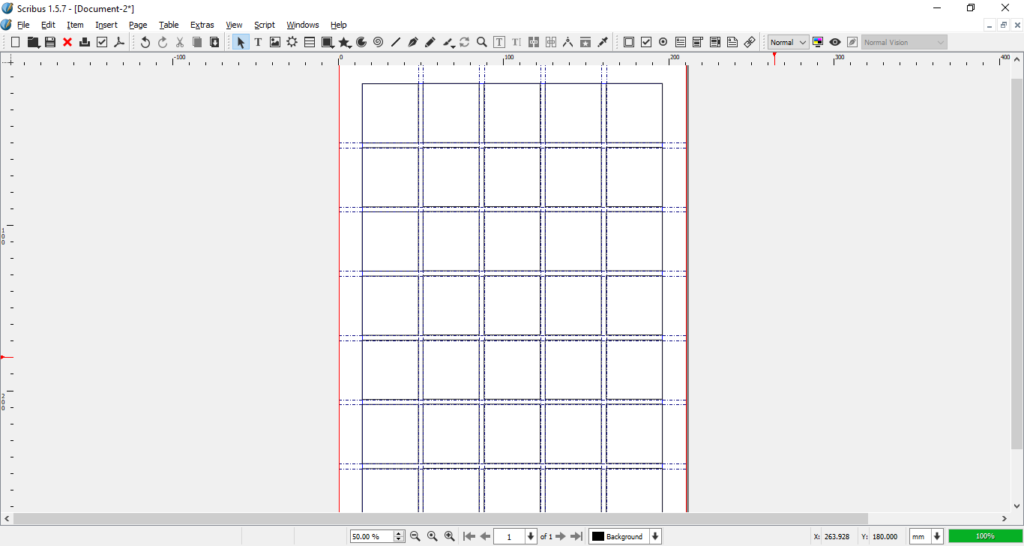
And then copy that row to the remaining columns.
 |
|---|
| Scribus grid whole page |
Finally we can export the grid as an SVG file for Inkscape.
File -> Export -> Save as SVG...
Loading the Grid into Inkscape
Open the created SVG file in Inkscape
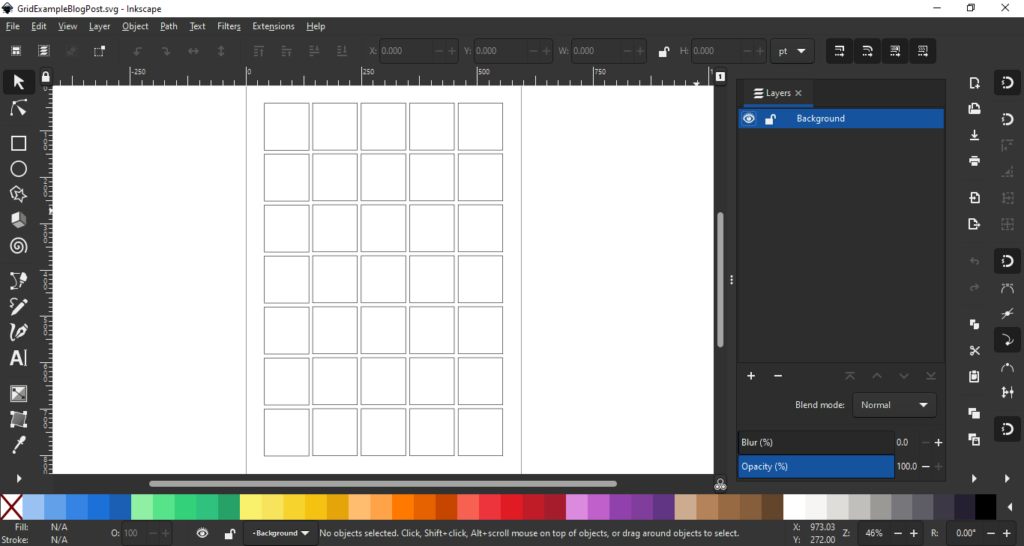 |
|---|
| Inkscape grid loaded |
First we will create a new layer to hold the grid. We want the grid on a separate layer so it doesn’t get in the way of our design and we can easily turn the visibility on and off.
Layer -> Add Layer...
Add a new layer called ‘Grid’. Select all the grid rectangles and go
Layer -> Move Selection to Layer
And select the new ‘Grid’ layer. We can just purely use the grid a guide to the eye, but it can be easier if we make use of the ‘Handle to cusp node’ option, so we can design shapes which quickly snap to and line up with the grid. The option for turning this on can be found in the Snap controls bar:
View -> Show/Hide -> Snap controls bar
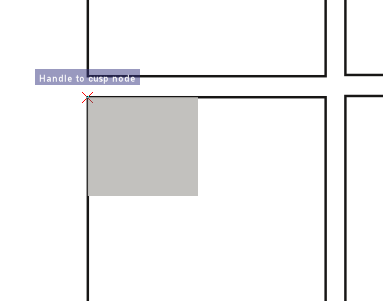 |
|---|
| Inkscape handle to cusp node |
Remember to move onto a new layer before starting work - we want to keep the ‘grid’ layer just for the grid.
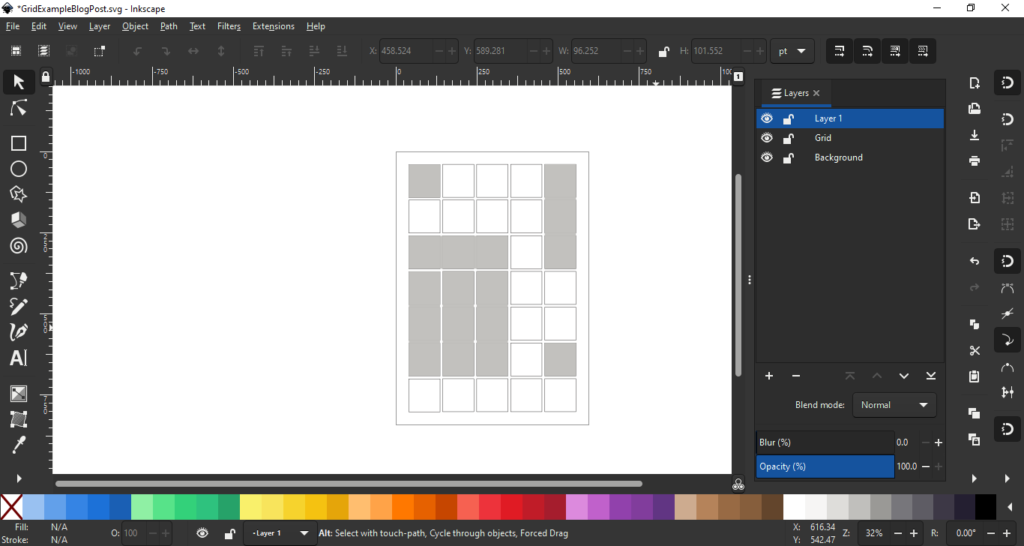 |
|---|
| Inkscape example layout with grid lines |
Because we put the grid on a separate layer we can easily hide it check on progress as we build up our grid-based design.
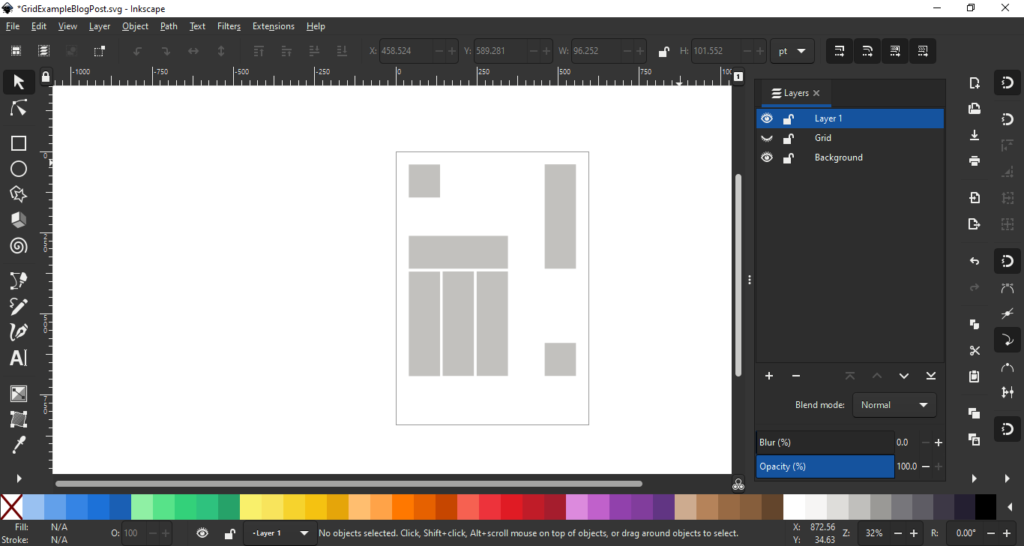 |
|---|
| Inkscape hide the grid layer |