Make a Grid of Images With Imagemagick
How to Make a Grid of Images
Perhaps you’ve got a time-series of images that you want to examine, or you want to look for differences in images taken from different experiments. Presenting images next to each other in a grid can make it much easier to see, and convey, what is going on. In this post I’ll show you how you can use Imagemagick to make a grid of images quickly and easily.
Download Imagemagick
The Imagemagick command we’re going to use is ‘montage’. Montage is a powerful and flexible command, so I’ll just use this simple example to show off some of the things it’s capable of.
1
montage -density 300 -tile 2x0 -geometry +5+50 -border 10 *.png out.png
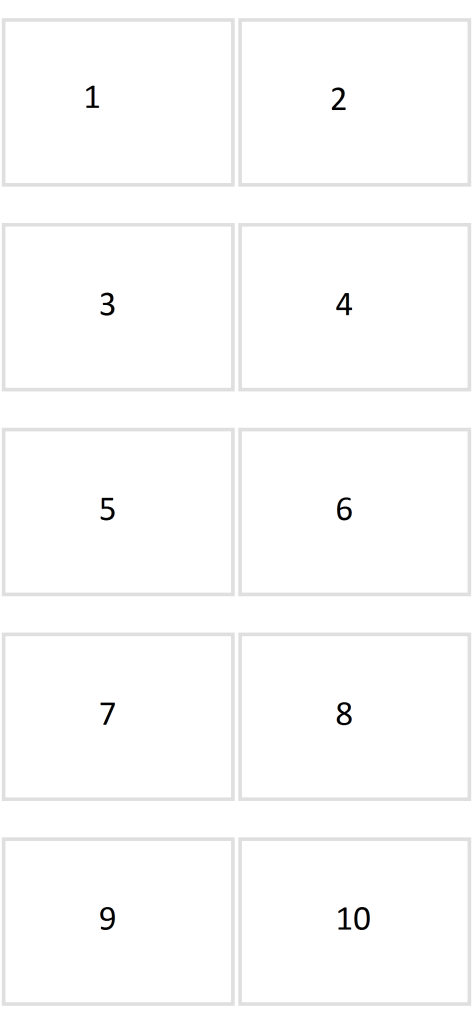
Which gives the output (to “out.png”):
 |
|---|
| *Make a Grid of Images - combine * |
The important options we’ve included are “-tile 2x0” This specifies that we want to arrange the images into two columns, with as many rows as needed. Imagemagick automatically tries to arrange the images as ‘nicely’ as possible. “-geometry +5+50” tells the montage command to set a 5 pixel boundary between the images in the x direction, and a 50 pixel boundary in the y direction. “-border 2” puts a 2 pixel border around each of the images in the grid. “-density 300”, which sets the output pixels/inch. I found that the default resolution was too low. “*.png out.png” sets the command to look for all png files in the current folder, with the output being set to a file ‘out.png’. This example should get you up and running, but be sure to check out the Imagemagick manual page to see the full range of options for montage. Of course you can also combine it with some of the other Imagemagick commands to help automate your image processing steps.