A Simple Linux Home Server
This post shows you how to set up a simple linux home server, and how you can use it to share files across your home network. This simple process will help get you going with a basic home server system which will be flexible enough for you to extend and develop.
1. Select Your Hardware
Almost any desktop or laptop made in the last 10 years should suffice, unless you are planning to run some intensive programs for many users (unlikely on a home network). Storage is more likely to be an issue with older systems, particularly if you want to store and share photos, videos and music at home. If that is a concern you may want to get a new hard drive. I like to re-purpose old laptops to use as servers - once they stop being useful for day-to-day use, they can still be powerful enough for use as a server. On the whole, laptops also use less energy than desktops, which is good if you intend to leave your server on for extended periods of time. If you don’t have some old hardware available, or would prefer something new, you could also try a relatively inexpensive home server solution from Dell or HP, or start with a ‘bare bones’ system and add your own components.
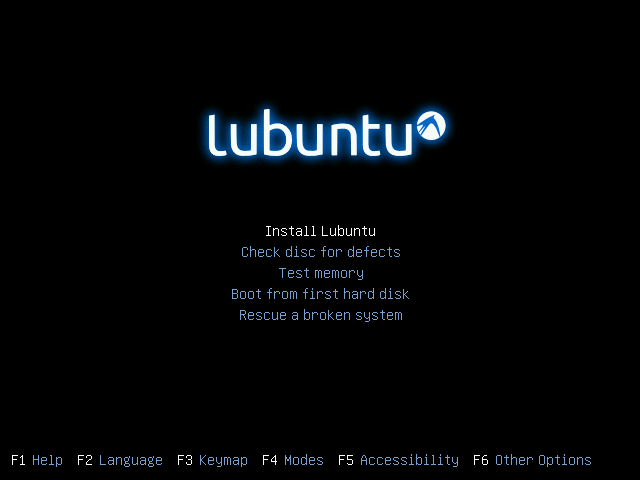
2. Install An Operating System
 |
|---|
| linux home server - operating system |
I like Ubuntu as an operating system - it is built on the power of Debian, but is generally easier to install. You will also find a wealth of resources to help you if you get stuck with Ubuntu, which is in itself a benefit. Ubuntu comes in a few different flavours, and there is also Ubuntu specifically for servers, which doesn’t come with a desktop as standard. The Ubuntu server edition is just the same as the desktop editions, so we could go with that as our operating system if we wanted. If like me, however, you are not completely confident working in a purely command-line environment, a good middle ground is to install the light-weight ‘Lubuntu’. This installs a light-weight desktop environment that you can use if you get stuck, and then add in the server components as you need them. If you are using older, less powerful hardware, you may wish to use the ‘alternate install’ method which is suitable for lower-spec machines. Otherwise you can use the standard Graphical install via a Live CD. If you are using a laptop, you may also wish to configure how Ubuntu behaves when you close the laptop lid. For me it made sense to turn the screen off, but not put the machine to sleep or hibernation mode.
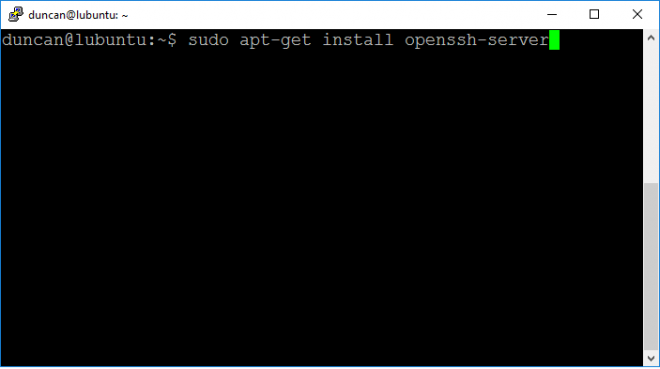
3. Allow Remote Access
 |
|---|
| linux home server - remote access |
Once you have installed the Lubuntu operating system, you should configure it to allow remote access. We will do this for within your home network only. It is possible to run your server as a webserver, but you do then have to be more security conscious.
a) Set up static IP address
Giving your server a static IP address means you will be able to connect to it using the same address each time (e.g. 192.168.0.19) . The simplest way to do this is probably at your router. The exact details of this will vary depending on the model of your router, but the steps should be similar to those in this guide - you need to tell your router to always assign the same IP address to your server machine.
b) Install ssh server on Lubuntu
The ssh server allows you to securely connect to your server machine. There are plenty of guides to install ssh server on Ubuntu, and it is generally painless. Once ssh server is installed, it just operates as a service on your machine, and you can start and stop the ssh server as you see fit. This guide also suggests setting up ‘ssh keys’. This can make things easier, particularly for more advanced things, but is not essential. If you do decide to configure public / private keys, there are more detailed resources available, particularly for ssh keys with Windows. Use of ssh keys can also make your home server more secure, and is a step in ‘hardening’ your server.
c) Check the connection to your server
You should now be able to connect to your new home server from other machines on your network (using the static IP address you created). From a Windows machine I suggest using Putty. You will connect to your server using the same user name and password that you would do login in directly. If you like, you can stop at this stage, and use something like winscp to transfer files between your machines. I like to go a step further and set up my server to share folders I can access from within Windows Explorer.
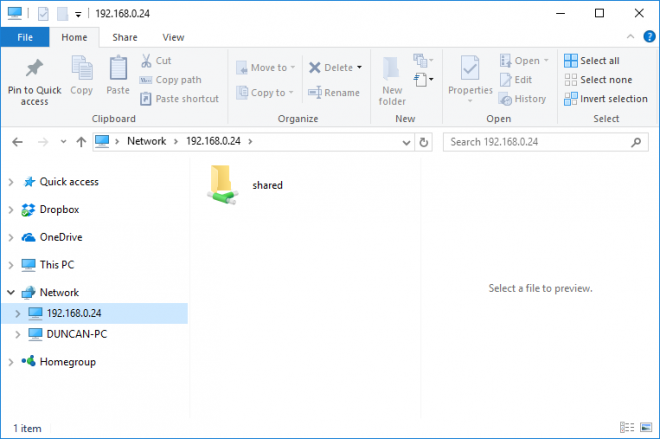
4. Configure File Sharing
 |
|---|
| linux home server - windows samba |
You can also allow the windows machines on your network to access shared folders on your linux home server. You can set up file sharing over the command line, using Putty to connect remotely if you need. If you would prefer, it is also possible to configure the file sharing from with the Lubuntu desktop - the steps are essentially the same, just with a graphical interface. If you have done that correctly your windows machine should now show your new, shared folder as available to access. Double click on it and you will be prompted for the Samba username and password you configured on your server. If you do have trouble seeing your shared folder, you can type \ followed by the IP address for your server into the Windows Explorer address bar (e.g. \192.168.0.24) which should then show you the shared folders available on your server.