SQLiteStudio is a free SQLite database manager. In this post I show you the SQLite import csv steps for SQLiteStudio.
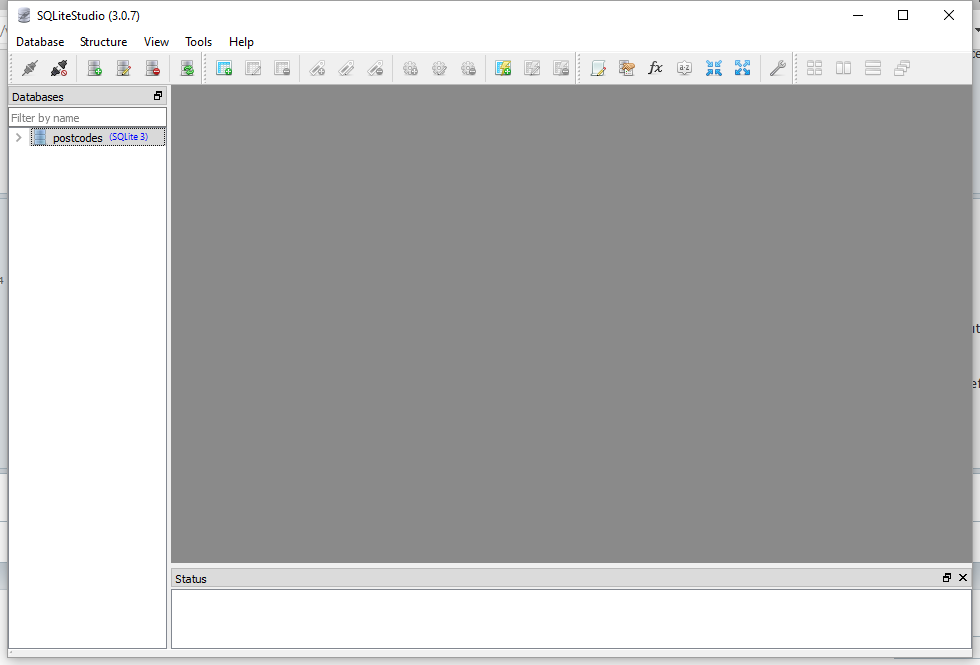
1. Open or Create Your SQLite Database
In this case I had an existing, empty database called “postcodes”
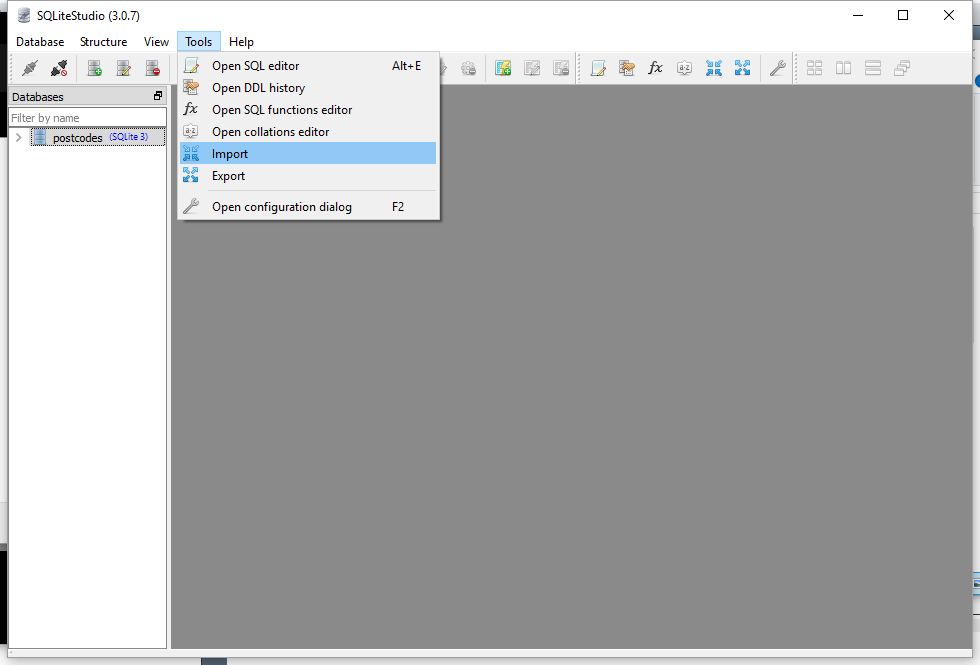
2. Open “Import” Window
Bring up the “Import” dialogue window by going to Tools -> Import.
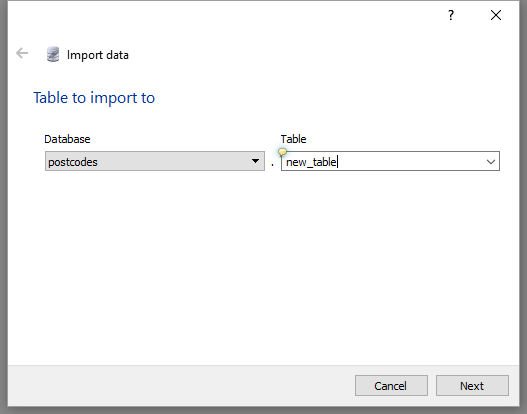
3. Select an existing table, or type the name of your new table
In this case I am going to create a new table called “new_table” to import csv data into.
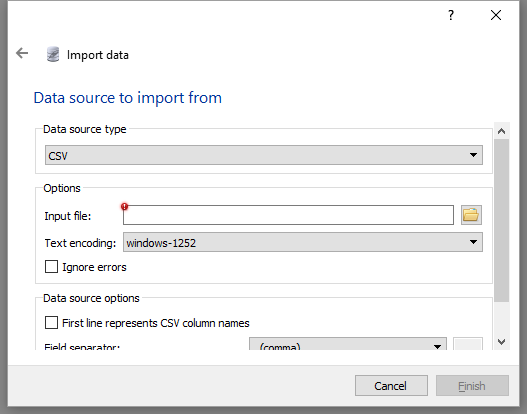
4. Select Your Input CSV File
Once you’ve selected your destination table, click next, and you’ll be taken to a dialogue to select your csv file to import. Select CSV as the data source type, and browse to your data file.
Depending on your data you may wish to tick the box “First line represents CSV column names” if your first row contains header information.
5. Import your data
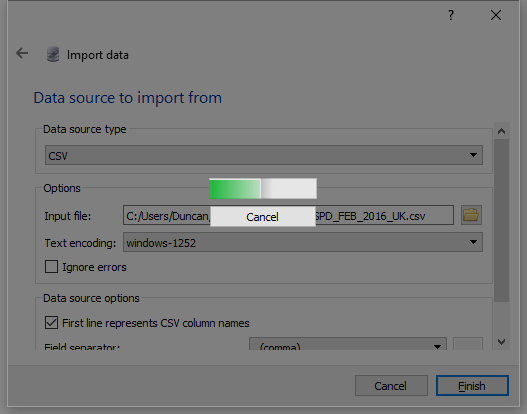
Depending on the size of your csv file you may be shown a loading screen similar to this one. In my case I had a ~500MB csv to import which took around 5-10 minutes to import.
6. View Your Imported Data
If everything has gone to plan you should now be able to navigate to your table and explore your data.