Nifi Version Control with Nifi Registry
NiFi is a tool designed to support the flow of data between software systems. This post shows how you can achieve NiFi version control with NiFi Register and docker. A note of caution: this post is about showing a little of what of possible with NiFi version control, and I suggest you read the NiFi administrator guide if you want to configure NiFi correctly.
The Components
In this post I’ll be using docker compose along with three main components: NiFi, NiFi Registry, and Zookeeper.
NiFi
NiFi was created by the NSA as a tool for flowing data between software systems. Unfortunately NiFi version control isn’t something that is available out of the box. Find out more about the NiFi docker image.
NiFi Registry
NiFi registry is a complementary tool for NiFi. It provides a place for workflows to be ‘deployed’ and thus shareable between NiFi instances. NiFi Registry also provides a form of version control so that workflows can be checked in / out as needed. Find out more about the NiFi Registry docker image
Zookeeper
Zookeeper is a tool for coordinating distributed clusters. Zookeeper is needed by NiFi because NiFi is designed to operate as a cluster. Find out more about the Zookeeper docker image
Docker Compose Configuration
We’ll use docker-compose to set up three containers. The base docker configuration used is from this blog post.
1
2
3
4
5
6
7
8
9
10
11
12
13
14
15
16
17
18
19
20
21
22
version: "3"
services:
  zookeeper:  # the configuration manager
    hostname: zookeeper:3.5
    container_name: zookeeper
    image: zookeeper:3.5
    environment:
      - ALLOW_ANONYMOUS_LOGIN=yes
  nifi:
    image: apache/nifi:1.9.2
    ports:
      - 8181:8080 # Unsecured HTTP Web Port
    environment:
      - NIFI_WEB_HTTP_PORT=8080
      - NIFI_CLUSTER_IS_NODE=true
      - NIFI_CLUSTER_NODE_PROTOCOL_PORT=8082
      - NIFI_ZK_CONNECT_STRING=zookeeper:2181
      - NIFI_ELECTION_MAX_WAIT=1 min
  nifi-registry:
    image: apache/nifi-registry:0.5.0
    ports:
      - 18080:18080
To start the containers, run
1
docker-compose up
This may take a few minutes.
Create a New Bucket In NiFi Registry
With the above docker-compose configuration, we can access the nifi registry by navigating to https://localhost:18080/nifi-registry
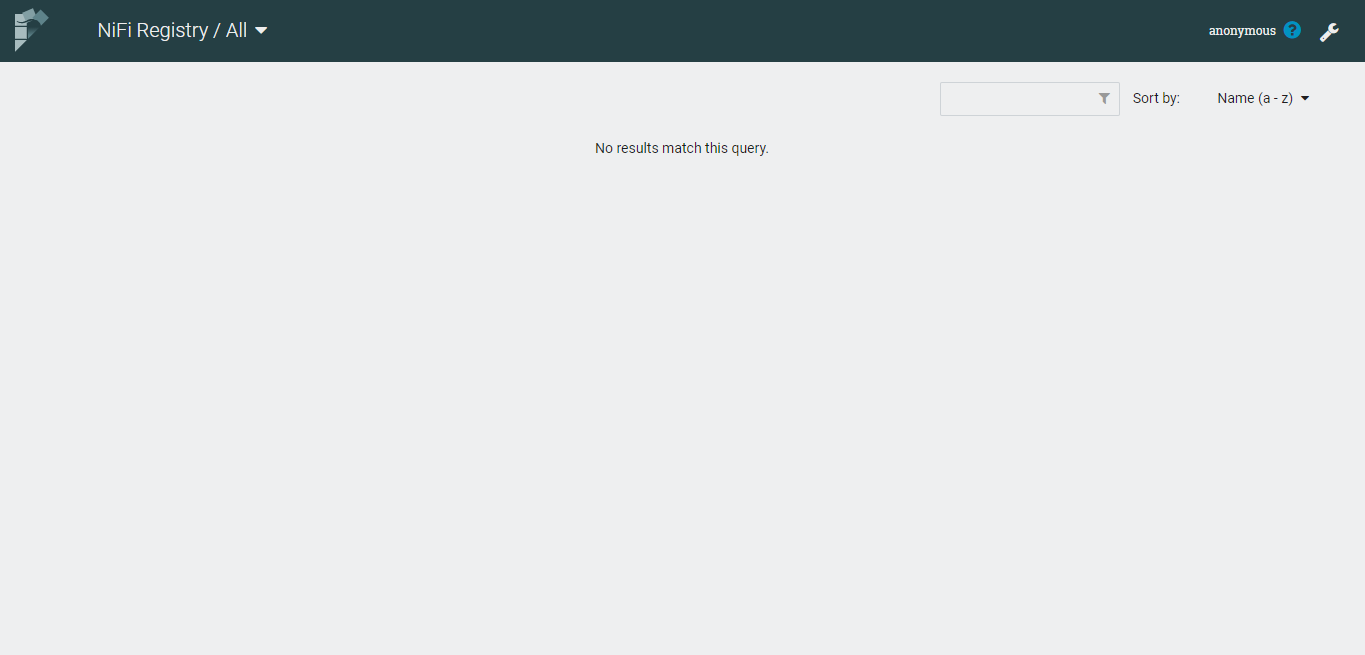 |
|---|
| Empty Registry |
Create a new bucket by clicking the spanner icon in the top left.
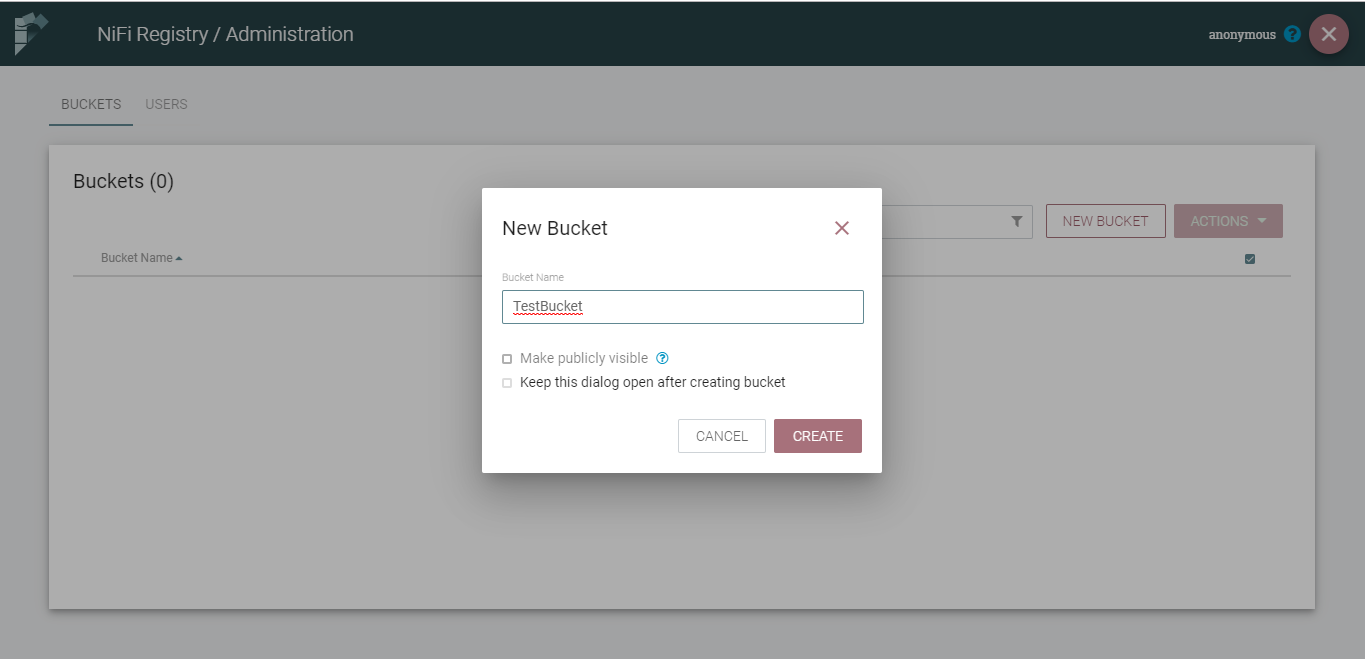 |
|---|
| Spanner - New Bucket |
Hit ‘Create’ and you’ll see a new bucket is visible in the NiFi registry.
Configure Version Control in NiFi
With the above docker-compose configuration, we can access NiFi by navigating to https://localhost:8181/nifi/
Connect to NiFi Registry
Firstly we need to configure the NiFi to know about the NiFi registry we just set up. We can do this via the hamburger button in the top right of the main NiFi screen.
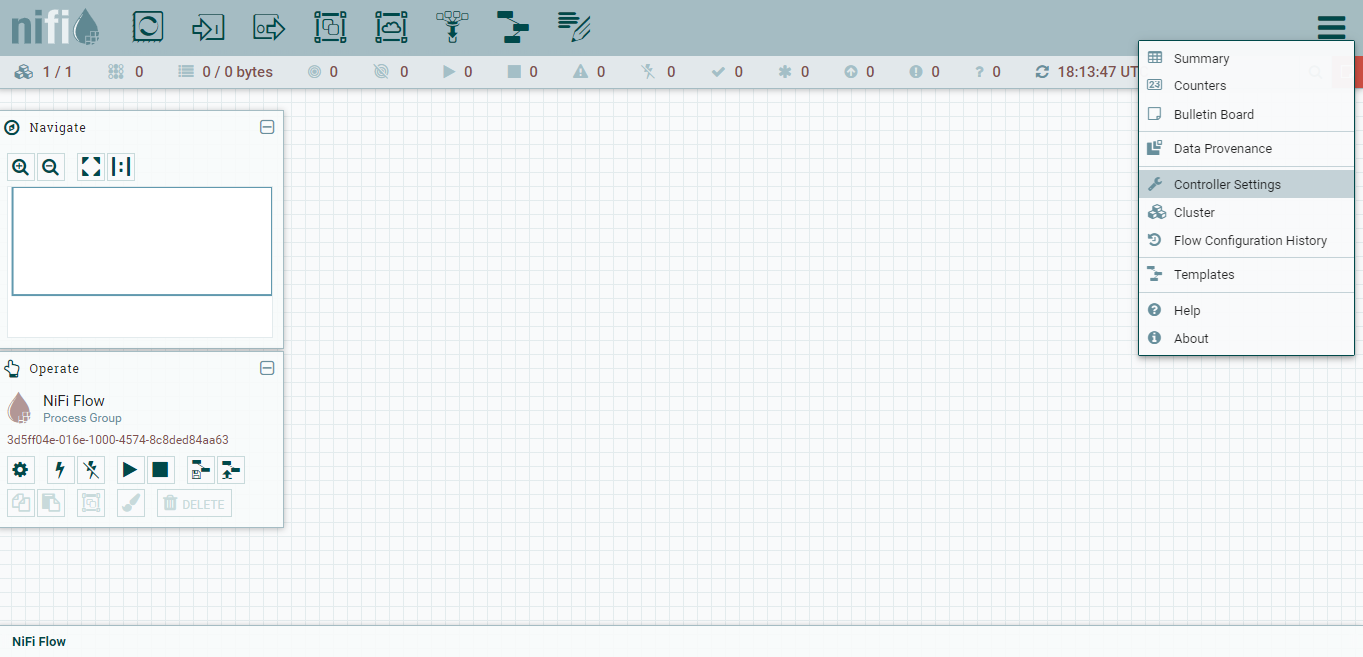 |
|---|
| Configure NiFi via the burger menu |
Once in the controller settings, go to the ‘Registry Clients’ tab and click the plus symbol to add a registry client.
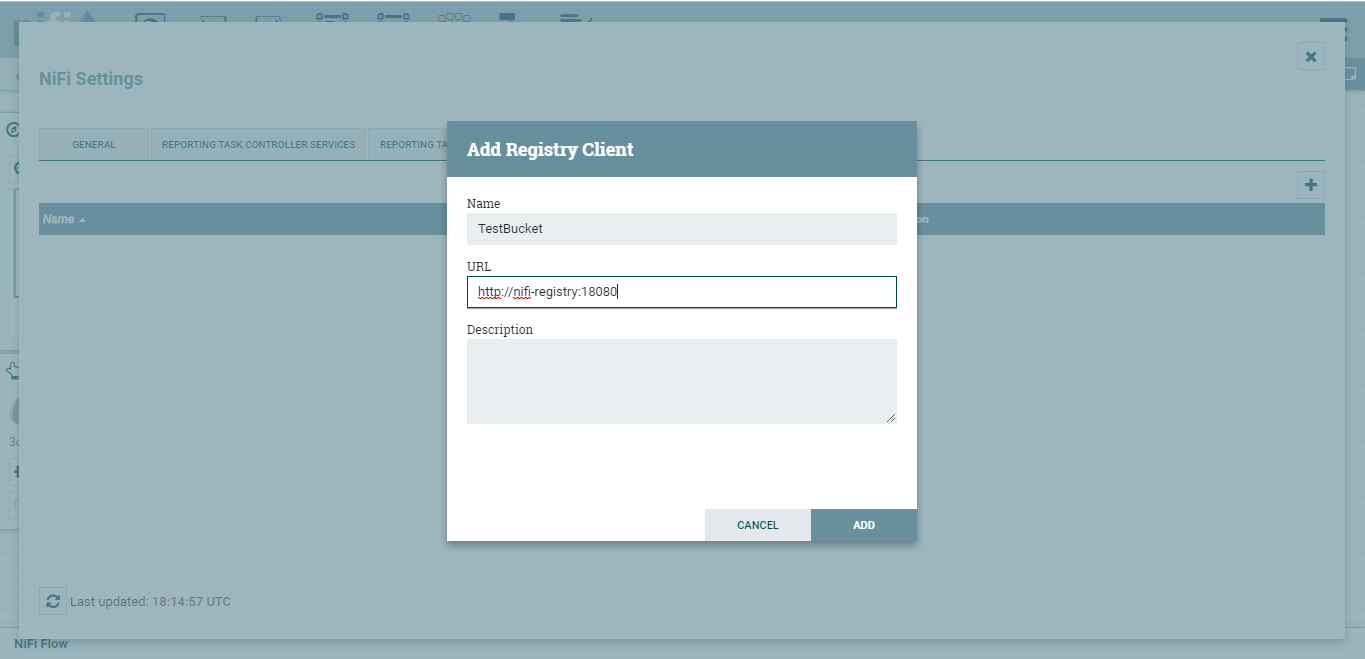 |
|---|
| Add registry client |
Something that threw me at first was the address of the registry client. Unlike other guides online which suggest using ‘localhost’ because we have used docker compose which has its own way of handling networking, so instead we use the https://nifi-registry:18080. (Or instead of ‘nifi-registry’ use whatever you’ve called your docker-compose thing for the registry).
Start Committing Changes
To commit changes to the registry we need to create a process group. Once created we can right right click and start tracking. As you make changes inside the process group you can right click and commit your changes to the workflow.
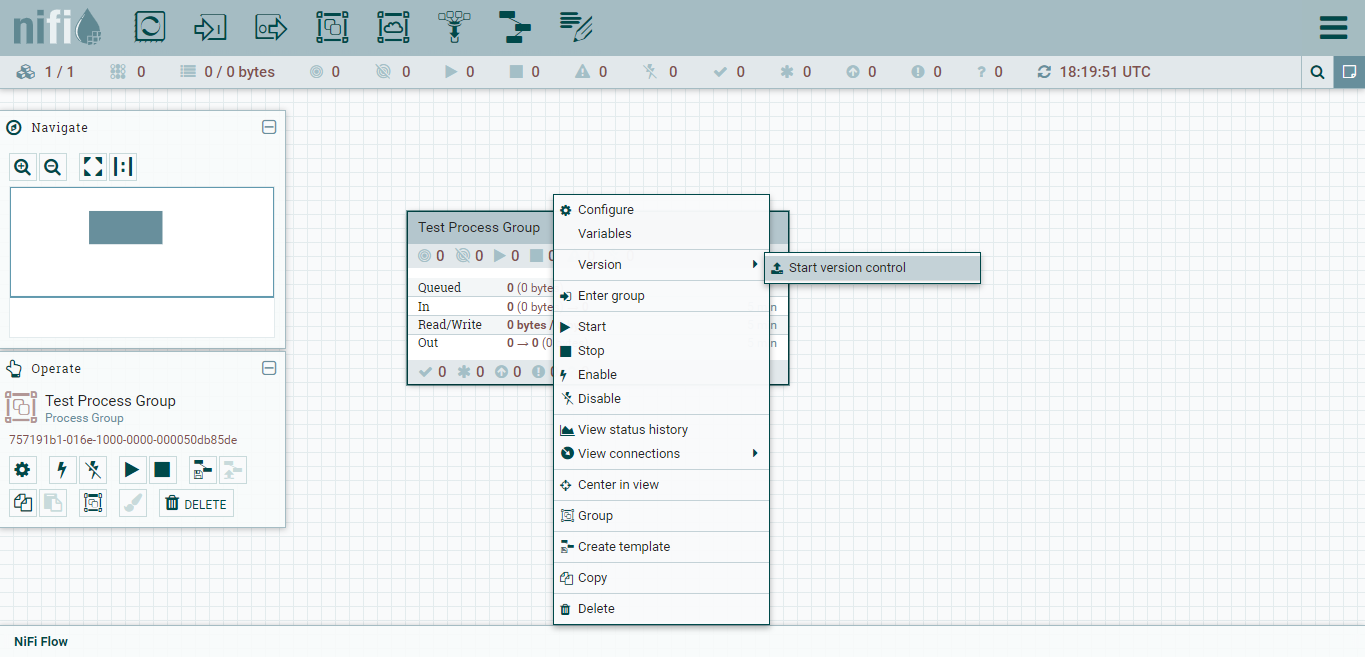 |
|---|
| start version control on a process group |
As you make changes within the the process group you can commit your local changes to the NiFi Registry.
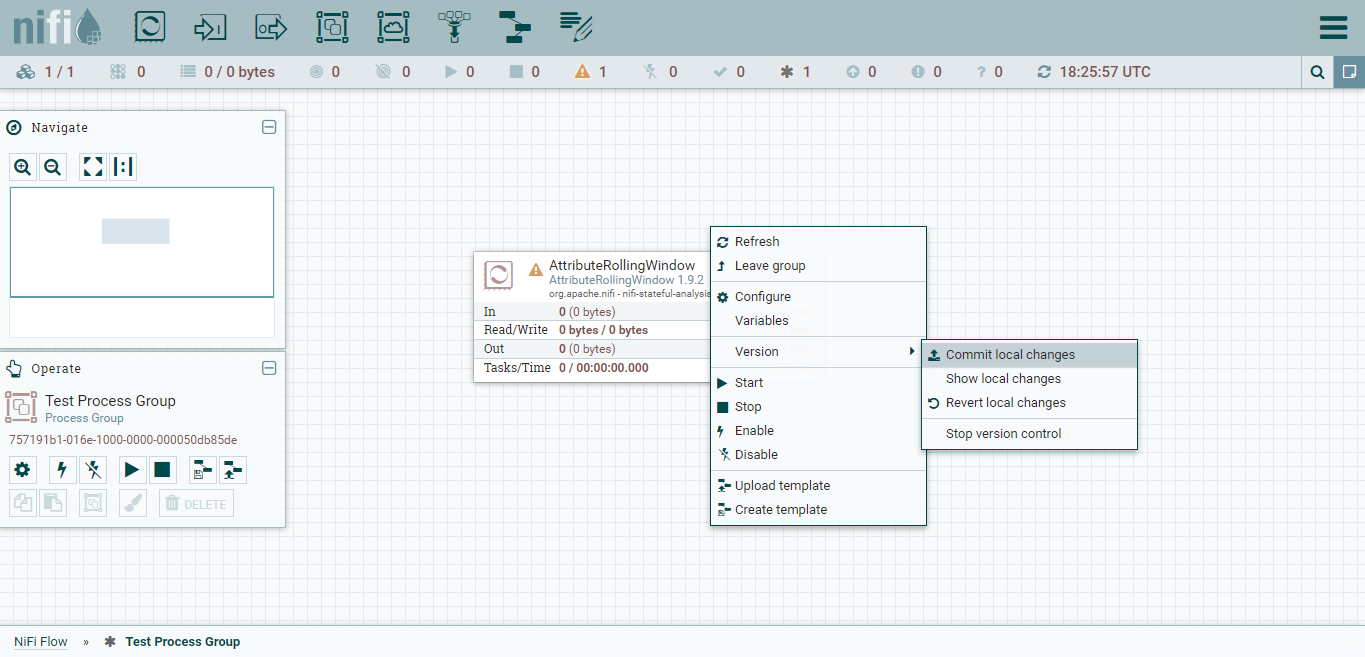 |
|---|
| commit your changes to the NiFi registry |
Once you’ve made a commit or two to the registry, if you go back to the NiFi registry (found at https://localhost:18080/nifi-registry in this example), you will be able to see those changes stored.
 |
|---|
| check the different versions in the bucket |
Retrieve an Existing Workflow
Once you have committed a version of your workflow to the NiFi registry you can go back to it if you need to. Right click in the workflow window and go to ‘version’, then ‘change version’ to bring up list of available versions.
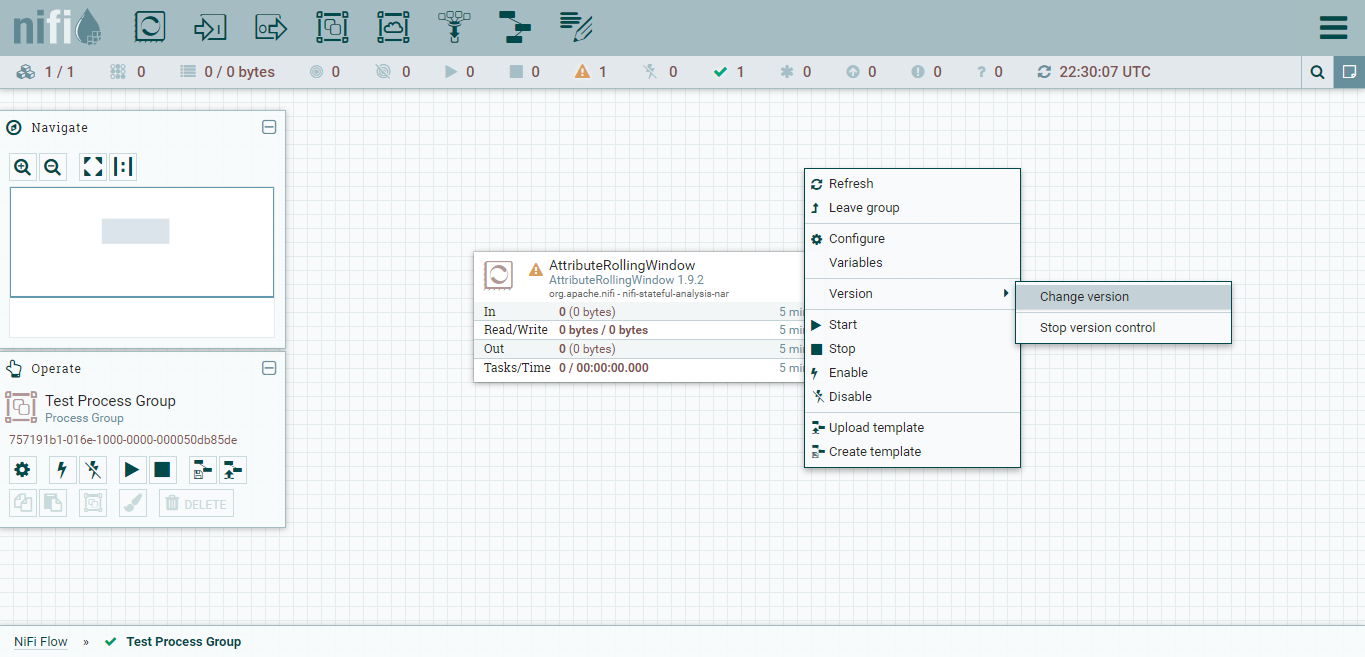 |
|---|
| right click to change versions |
Select the previously committed version that you need from the ‘Change Version’ menu.
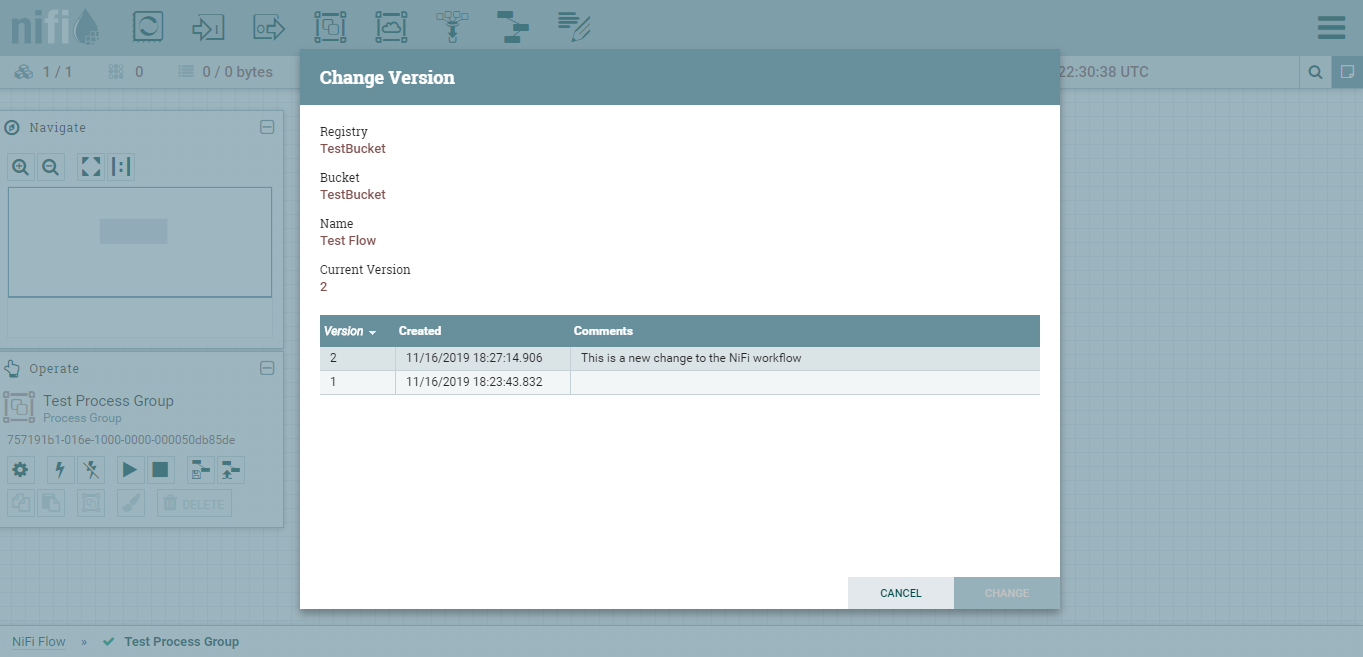 |
|---|
| select the previously committed version you need |